The NFT world is growing a lot more every day, and so does the number of digital artists entering this industry. Whether through generative art or any other style, people worldwide draw tons of images to sell on diverse digital marketplaces.
People use Photoshop image editing software to draw this kind of digital asset and create stunning colors. There are tons of reasons why this is one of the best options for starting and creating your NFT collection.
This article will show you how to use Photoshop to create NFT art. Follow each step carefully to guarantee the best results from your creative process and NFT project.
This article is a segment of a longer piece on How To Make Your NFT Art.
What Is an NFT
You are a little late if you still don’t know what an NFT is, but don’t worry, we’ve got you covered.
NFT stands for Non-Fungible Token, and it is a digital asset that is stored using blockchain technology.
This asset is unique and can not be replaced by anything else. Unlike traditional crypto coins, like Bitcoin and Ethereum, the NFT doesn’t have a fixed price, and items from the same NFT collection can have two completely different values.
Although NFT files are usually related to digital art, the usage of this technology goes far beyond just that. You can create an NFT to work as an ID or even tickets for a show. The possibilities are almost endless.
What Is Photoshop

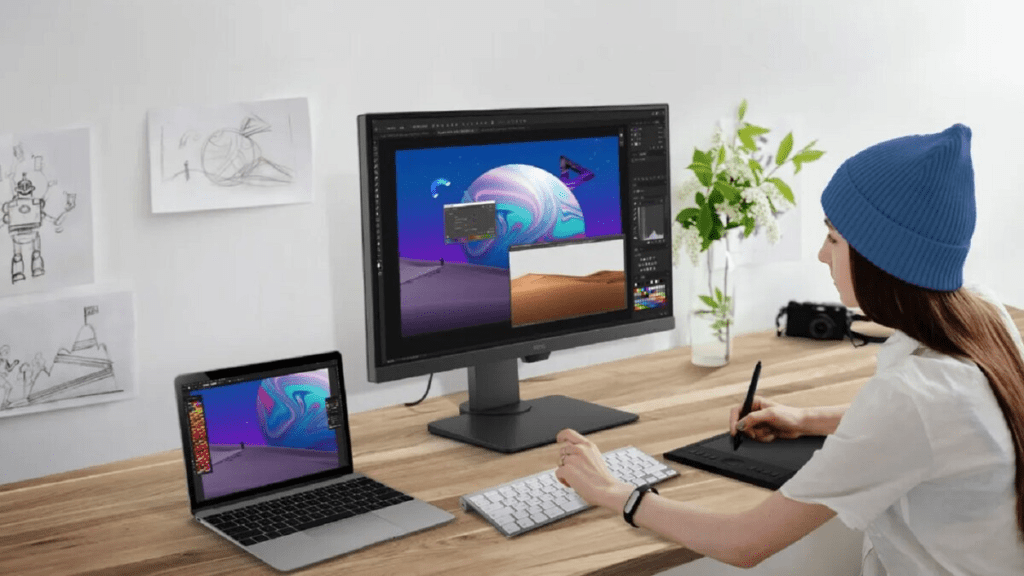
Adobe Photoshop (or simply PS) was initially created as a photo editing software designed to support and edit almost any file format regarding photos. With the passing of years and new features added, digital artists from all over the world discovered the software’s potential to become an excellent tool not just for photo editing but also for digital art.
Nowadays, Photoshop is an industry standard for photo editing and a tool used by artists from all over the world to create images of all kinds and styles. You can edit all aspects of your NFT file, like image size and color scheme.
Even though it doesn’t directly support generative art, it is still one of the best tools for the task. You can easily acquire the software by visiting Adobe’s website.
Why Using Photoshop Is a Good Idea
There are many reasons that make Adobe PS one of the best tools to create an NFT, whether you are a beginner or an experienced artist with previous NFT collections sold. The first one is its enormous tool set that makes almost anything possible when talking about making your image visually appealing.
You will find lots of brushes and filters to reach the desired result. If you already have experience with Photoshop, this will be an easy task for you.
If you don’t have any experience with the software, don’t be afraid to experiment with the tools. PS also features cloud saving, so your files will be safely stored.
How to Create NFT Art Using Photoshop
Now that you know what Photoshop is and the reasons why it is an artist’s favorite for illustrations and photo editing, it is time to see how to create an NFT using the software. Follow each step carefully to avoid problems with your content credentials and crypto address, for example.
Here are the main steps to create an NFT using Adobe PS:
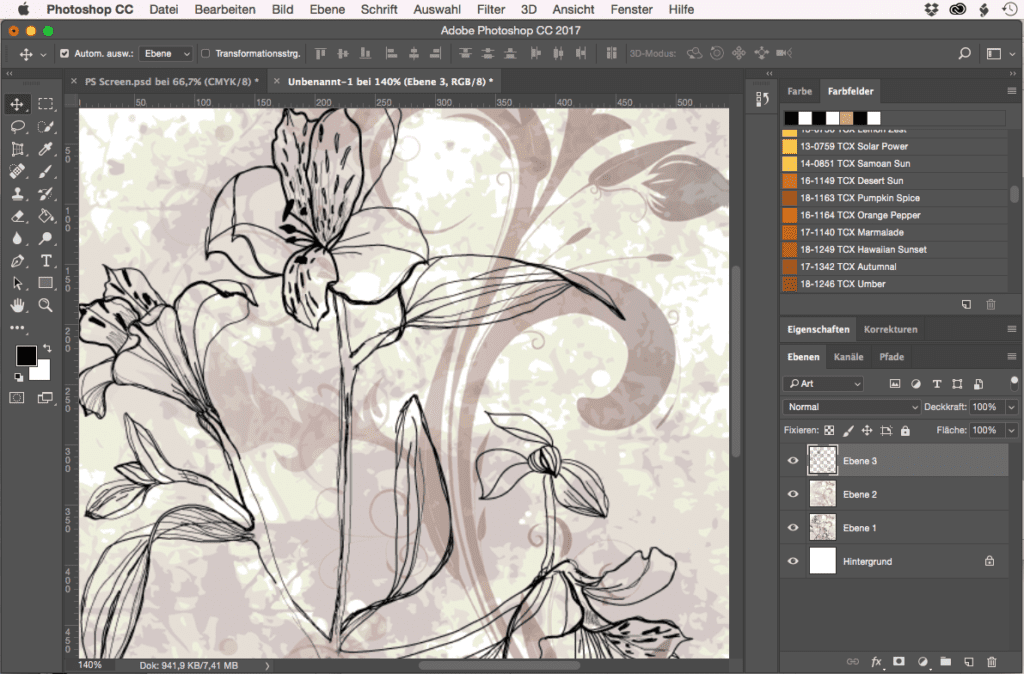
Open Photoshop and Create a New Document

Right when you open Photoshop, the software will give you options for creating your file. There are tons of pre-made templates, but you can also personalize them to fit your needs as well.
It is essential to pay attention to the measurement unit being used and the background color depending on the format you save the file. When creating NFTs, it is recommended that your file is at least 1000×1000 pixels wide.
This will guarantee that your image will not have poor resolution and will have more chances of attracting potential investors and collectors. Making a file that is too heavy, like 4000×4000, is also not recommended since it can take more time for the market to process, and the resolution might get downscaled.
Create Your Concept

After creating your file, you can start working on the concept of your NFT. It can be a sketch or even a mind map of what will be its art style, color pallet, etc.
It is very important to plan what you will draw before you go to the definitive version. Making concept arts and sketches makes the final process way more optimized.
This step includes traditional art and generative art as well. As previously mentioned, PS doesn’t directly support generative art, so you might need special software to generate the combinations.
Create Your Final Version
After creating your sketch and adjusting everything, you can start making the final version of your digital art. This process might take some time, so don’t worry about it.
You can repeat the steps until you reach the desired result. Remember that once your NFT gets published, there is no way to edit its colors and details.
Once you are happy with the final version, you just need to save and export it. We highly recommend using PNG as your standard format for this kind of file.
PNG is a format accepted by almost any platform and ensures that your project won’t lose quality during the process.
Using other formats might cause your file to lose quality when compared to the .psd file, and it also has the possibility of not being compatible with the website where you want to upload it.
Create Your OpenSea Account

In this article, we will choose OpenSea as the marketplace for uploading NFTs. You can choose any marketplace for the operation. Just follow the steps adapting them to the selected marketplace.
The first step after opening OpenSea is to create your account. You can do this by clicking on the website’s logo in the top-right corner. If you already have an account, just log into it.
Be sure to set it up carefully and fill in all the information correctly. Otherwise, you might have problems uploading your NFTs in the future.
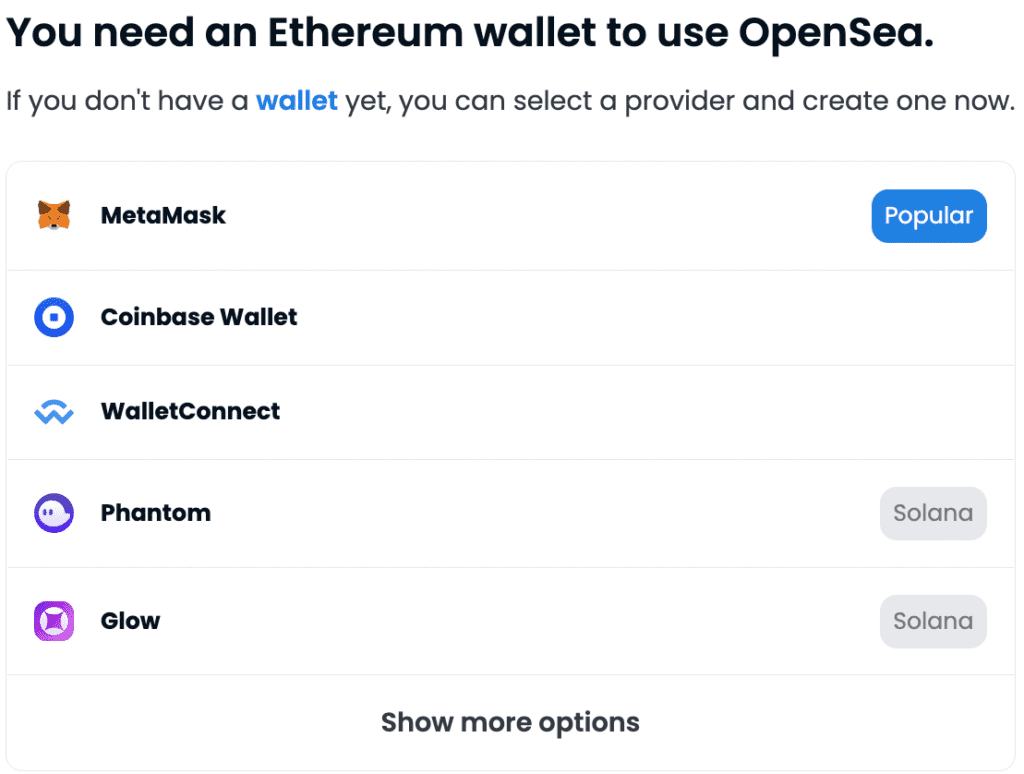
Create Your Metamask Account

Next, you also need to set up a Metamask account. This can be easily done by visiting Metamask official website.
Metamask has tons of safety features that will guarantee that scammers won’t steal your coins and NFTs. Moreover, Metamask is one of the most versatile wallets, featuring mobile phone versions and web browser extensions.
Link Both Accounts
After creating both accounts, you just need to link them, and then you’ll be able to buy and mint NFTs. Once you have the connected accounts, you will be able to use all the features from OpenSea without any problems.
Don’t forget to pay attention to the gas fees, whether when minting or buying NFTs. They are not fixed and might vary depending on the blockchain that you are using.
Create a New Collection

Next, you need to go to the creation tab next to your profile and hit the “create” button. Doing this will take you to the collection creation tab.
Once you click on the menu, you must fill in the basic information about your NFT, like name and description. When uploading the asset, you can either manually select them through the file explorer or drag and drop them on the page.
If you save your art in PNG, you won’t need to worry about compatibility issues. On the other hand, if you use an alternative format, you will need to see if it is compatible with OpenSea.
Set Up Your Minting Options

After creating the collection and uploading your image, you need to set up your minting preferences, like blockchain and minting type.
If you want to avoid paying excessive gas fees, using the Polygon blockchain for this task is highly recommended. By doing this, you can mint the NFT for free and have its gas fee deducted from your sale price.
There is no right or wrong way to do this part. You can choose the options that best fit your needs.
Upload Your NFT

Now, the last thing you need to do is hit the “create” button. Once the platform finishes processing the asset, your art made in Photoshop will be already available at OpenSea.
Don’t forget to always share your collection on social media and NFT communities. This will help you get visibility and increase your chances of gathering new interested collectors and investors.
The sales won’t happen instantaneously and might take some time until someone invests in your project. Don’t worry about it. It’s a normal process.
Conclusion on How to Make NFTs on Photoshop

Creating NFTs has been one of the most promising investments you can make recently, and Photoshop is an extremely helpful tool for this mission. Thanks to tons of features and an interface that the users can quickly adapt to, it’s one of the best software available for you to let your imagination run.
If you have a basic understanding of drawing concepts such as body perspective and shading, you can create advanced 3D art NFTs with Photoshop.
Remember that it is always essential to create a sketch or concept art is essential before drawing the final version. This optimizes the process and prevents mistakes that can not be fixed once the collection is uploaded.
Now that you know everything you need about Adobe PS and how to create NFTs in it, it is time for you to start creating your sketches. Follow each step carefully, and you will definitely end up with a project that will gather tons of investors and collectors.
The path to being a successful NFT artist is not as easy as some people think. The most important part is not giving up and improving your skills.
Related articles: